1. Initiate the Upload
- Navigate to Data Provider > Project > Bulk Project Upload in the application menu.
- Click the blue Bulk New Project Upload button located in the top-right corner of the interface.

2. Upload Your Folders
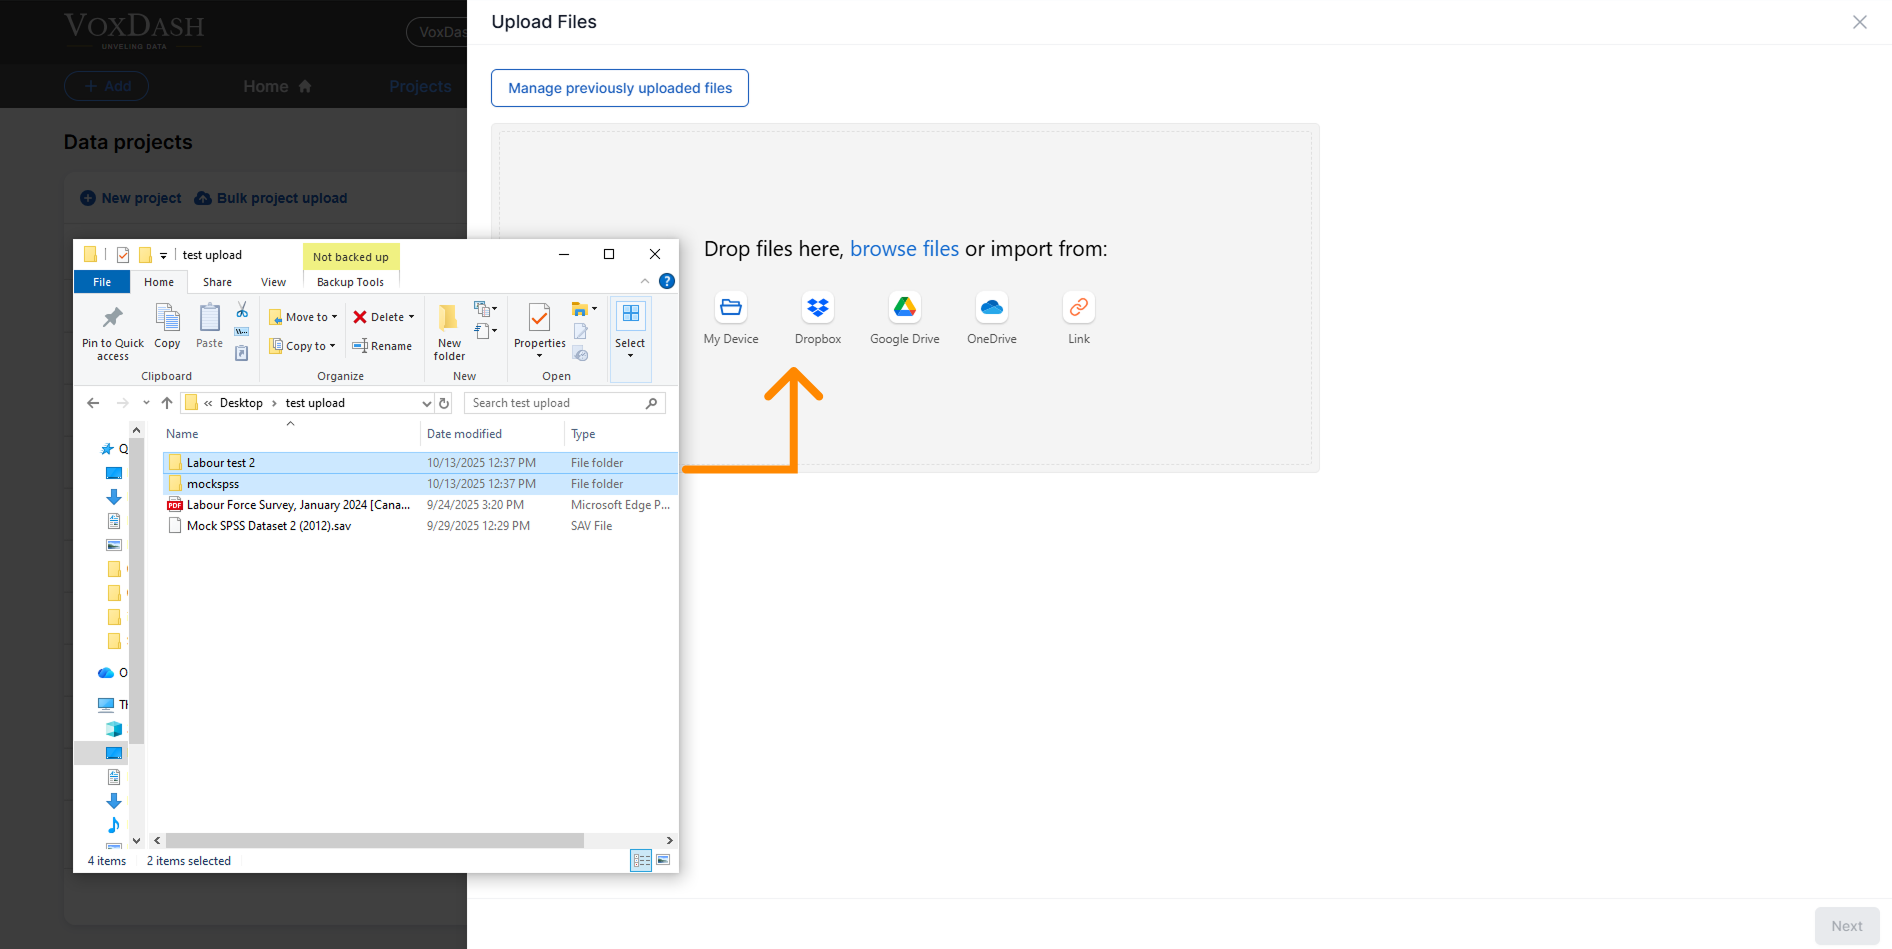
- Drag and drop your folders into the designated Upload Box in the dialog.
- Once your folders are displayed in the upload area, review the list to ensure all necessary folders are included.
- Click the blue Confirm button located in the bottom-right corner of the upload dialog to proceed with the upload.
Additional Notes
- Data Entry: While the bulk upload handles the file upload process, any required data entry for the projects should be completed separately. Make sure to navigate to the relevant sections of the application to input any additional project metadata or configuration.
- Supported Formats: Ensure that the files and folders you upload are in the supported formats specified by the platform. Unsupported formats may result in errors or skipped files during the upload process.