What is a Vendor?
A vendor is a company, organization, or institution that provides Survey files or data services as part of the information collection process. Vendors play a crucial role in supplying datasets, tools, or resources necessary for research, analysis, and decision-making. They may specialize in collecting, processing, and distributing data or provide software and technologies, such as Survey, to facilitate data analysis. In some cases, vendors may also assist with data management, quality assurance, and compliance with data privacy regulations.How to Add One?
There are two primary methods to add a vendor to the system:- Directly from the Vendors section.
- During the data entry process (Wizard 3 in General Data Entry).
1- Directly from the Vendor Section
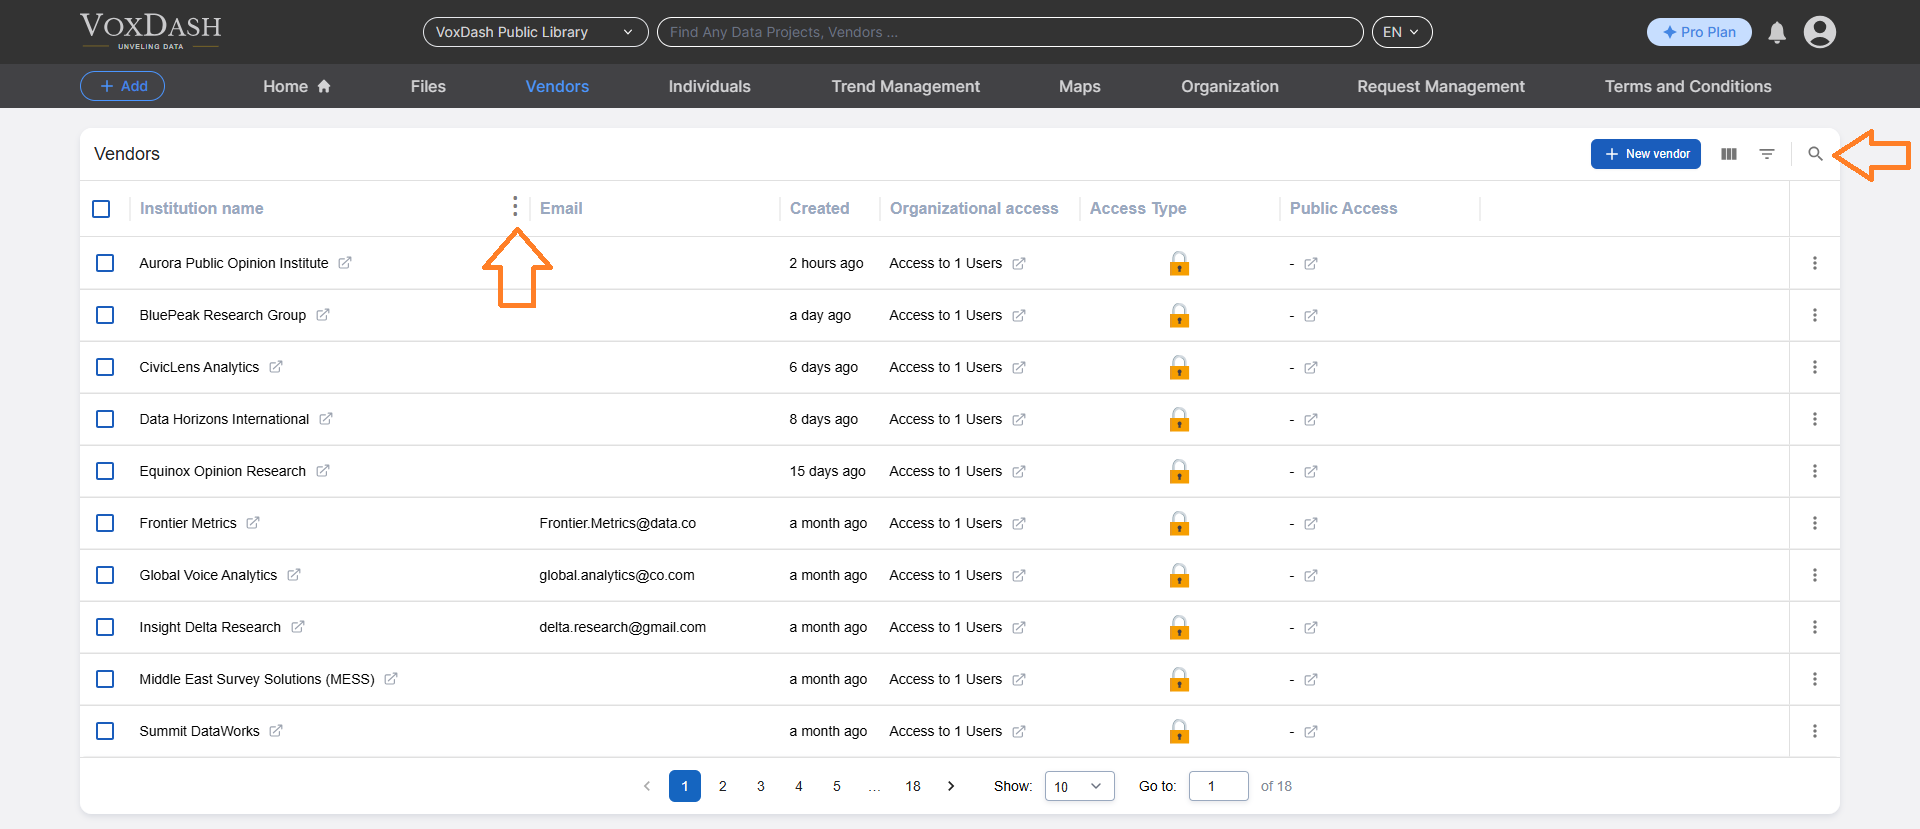
The vendor section is accessible from the main navigation menu and is the third section in the heading. To add a new vendor:- Navigate to the Vendors section in the data provider.
- Click the blue New Vendor button located in the top-right corner.
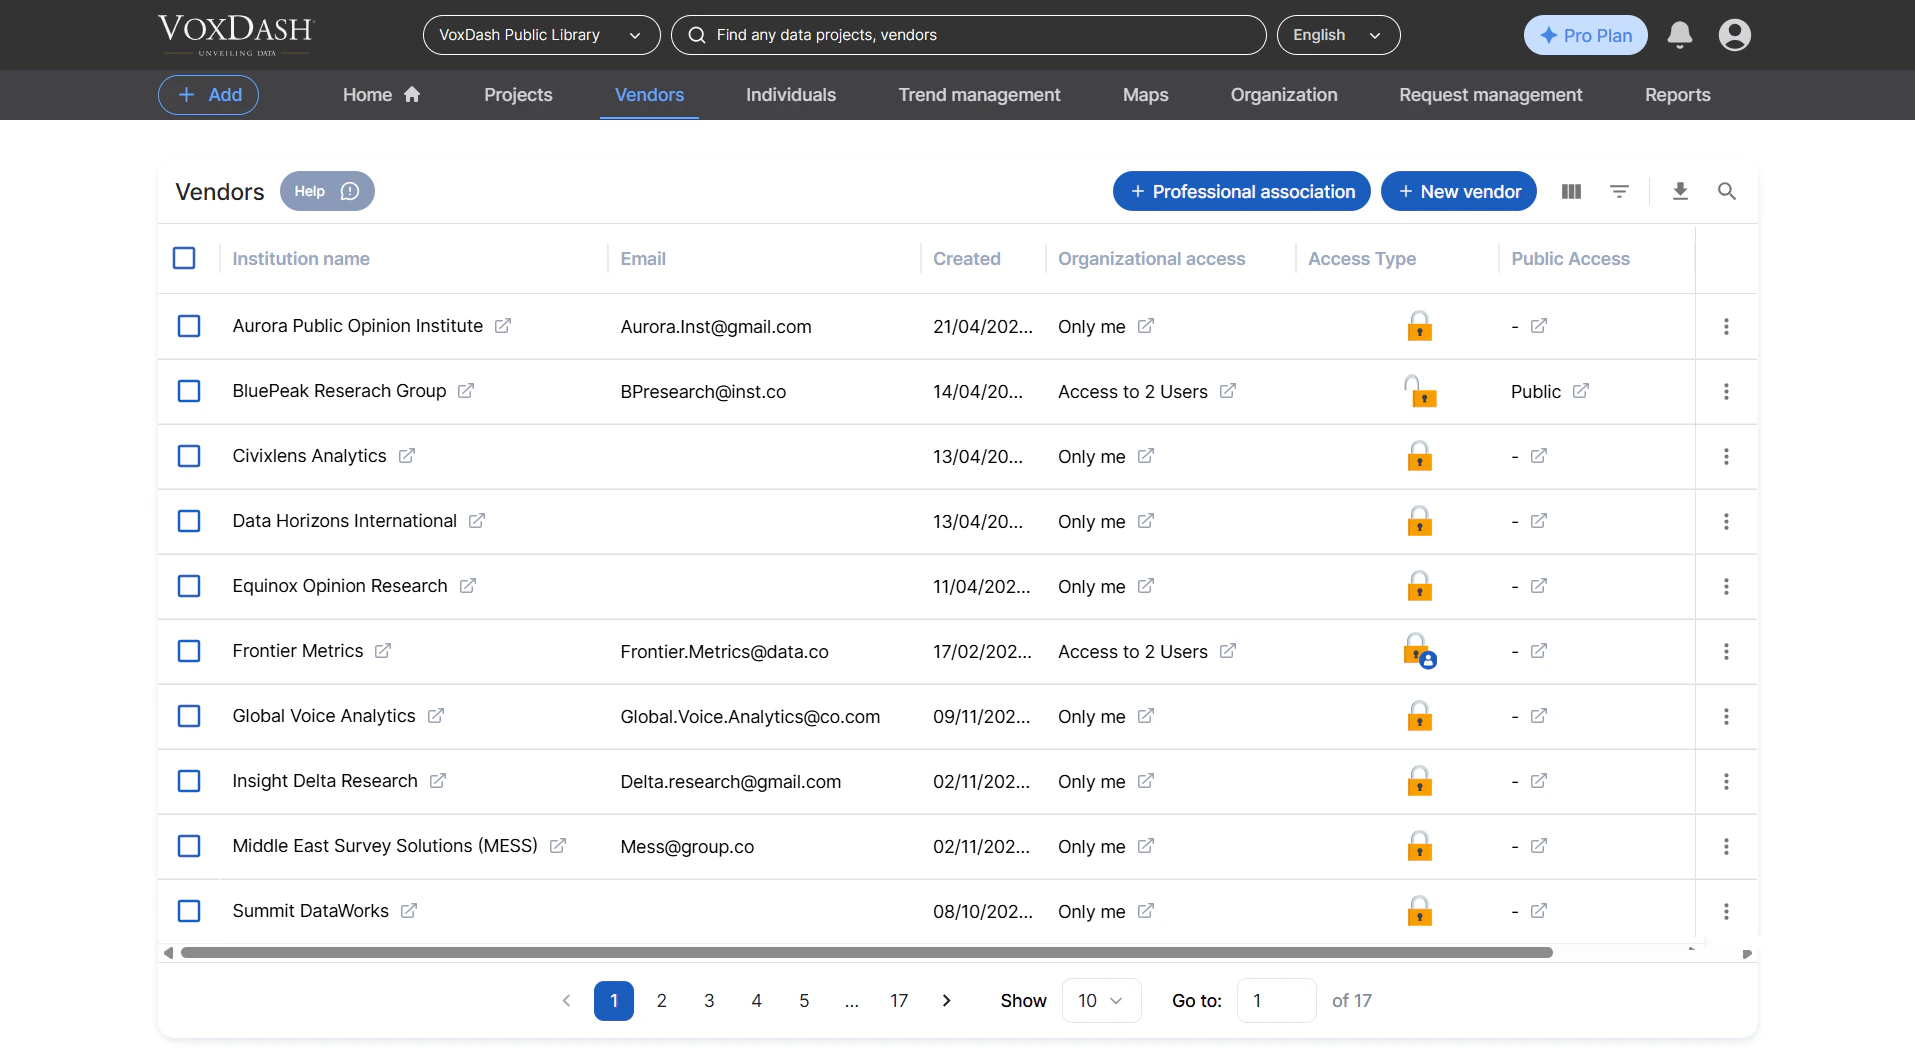
- Institution’s name
- Social media accounts
- Address
- Contact details
- Additional relevant information

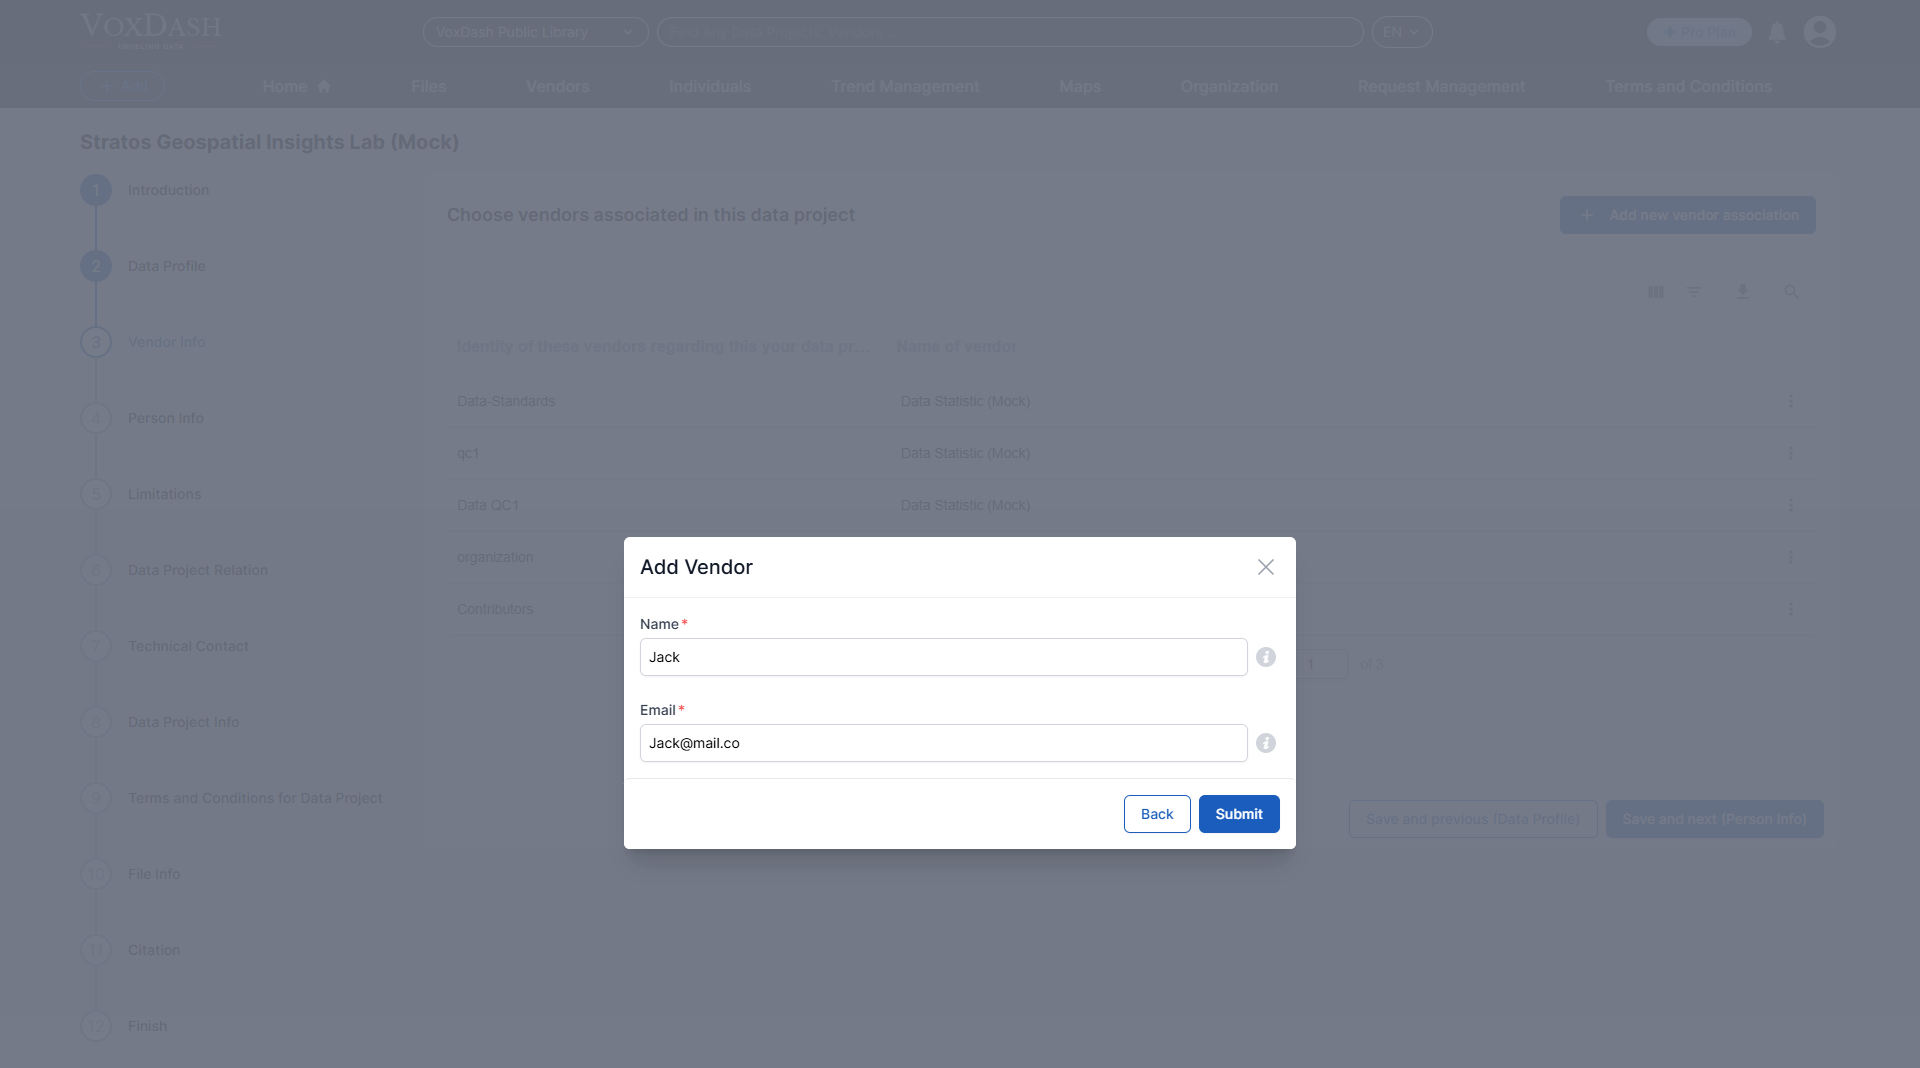
2. Adding a Vendor During the Data Entry Process
You can also add a new vendor during the general data entry process, specifically in the third wizard. Follow these steps:- Navigate to the General Data Entry section and proceed to the third wizard.
- On this page, you will find an option to add a vendor:
- Click the blue New Vendor button in the top-right corner.
- Alternatively, select a vendor role from the identification section and edit the details as needed.

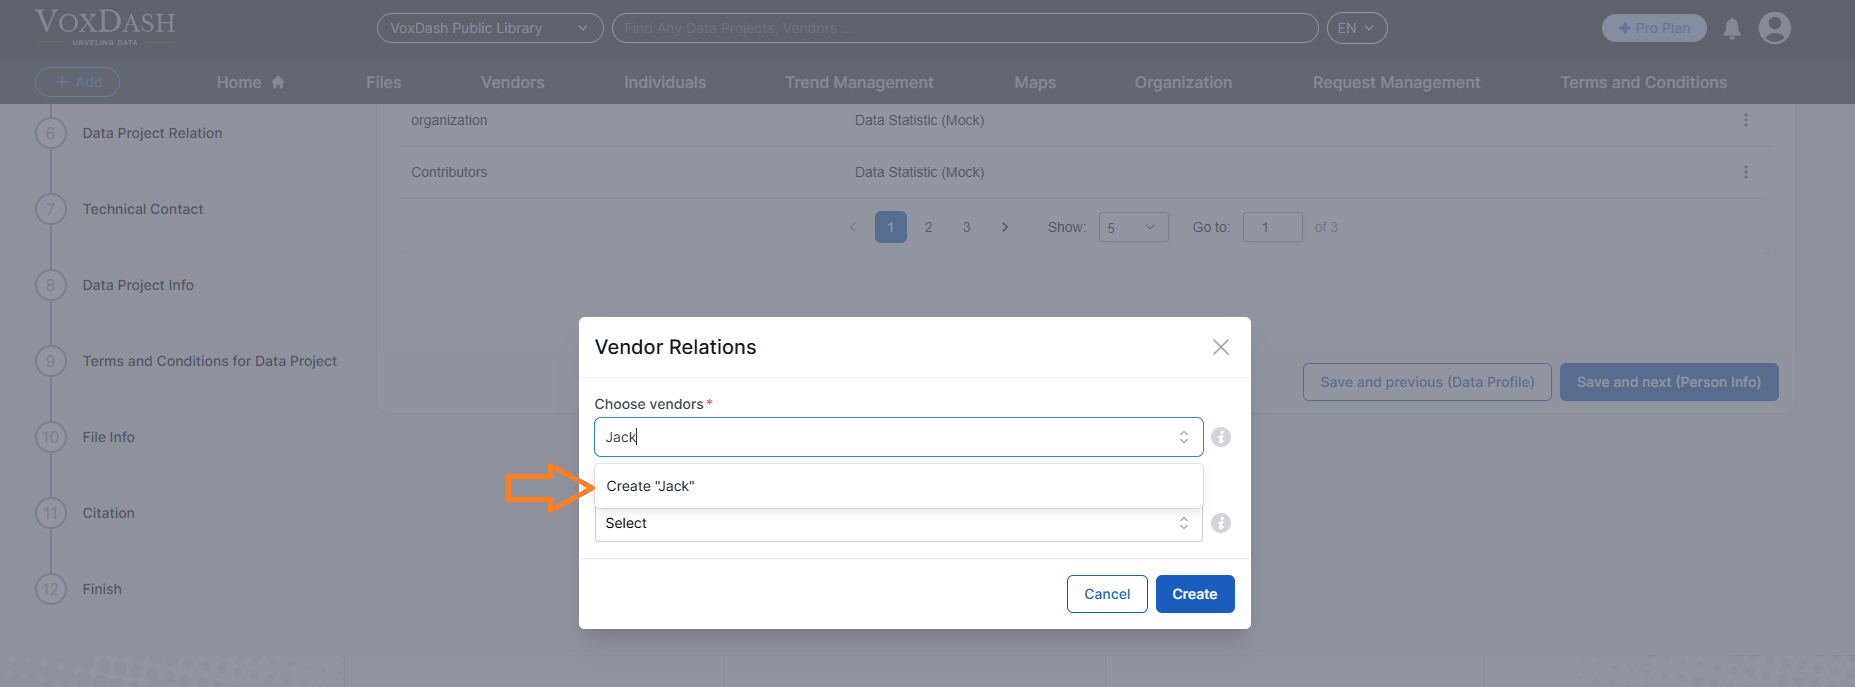
- When you click the button, a page will appear where you can enter the vendor’s name.
- Choose from the following options:
- Select an existing vendor from the list.
- Add a new vendor by entering their details.
- After clicking the Create button, you will be prompted to input the vendor’s name and email. Submit the details to finalize the process.

Finding a Vendor
To quickly locate an existing vendor, in the Vendors page, use the Institution Name filter:- Type part or all of the vendor’s institution name in the search bar.
- The system will display matching results, making it easy to find the vendor you need.
Summary
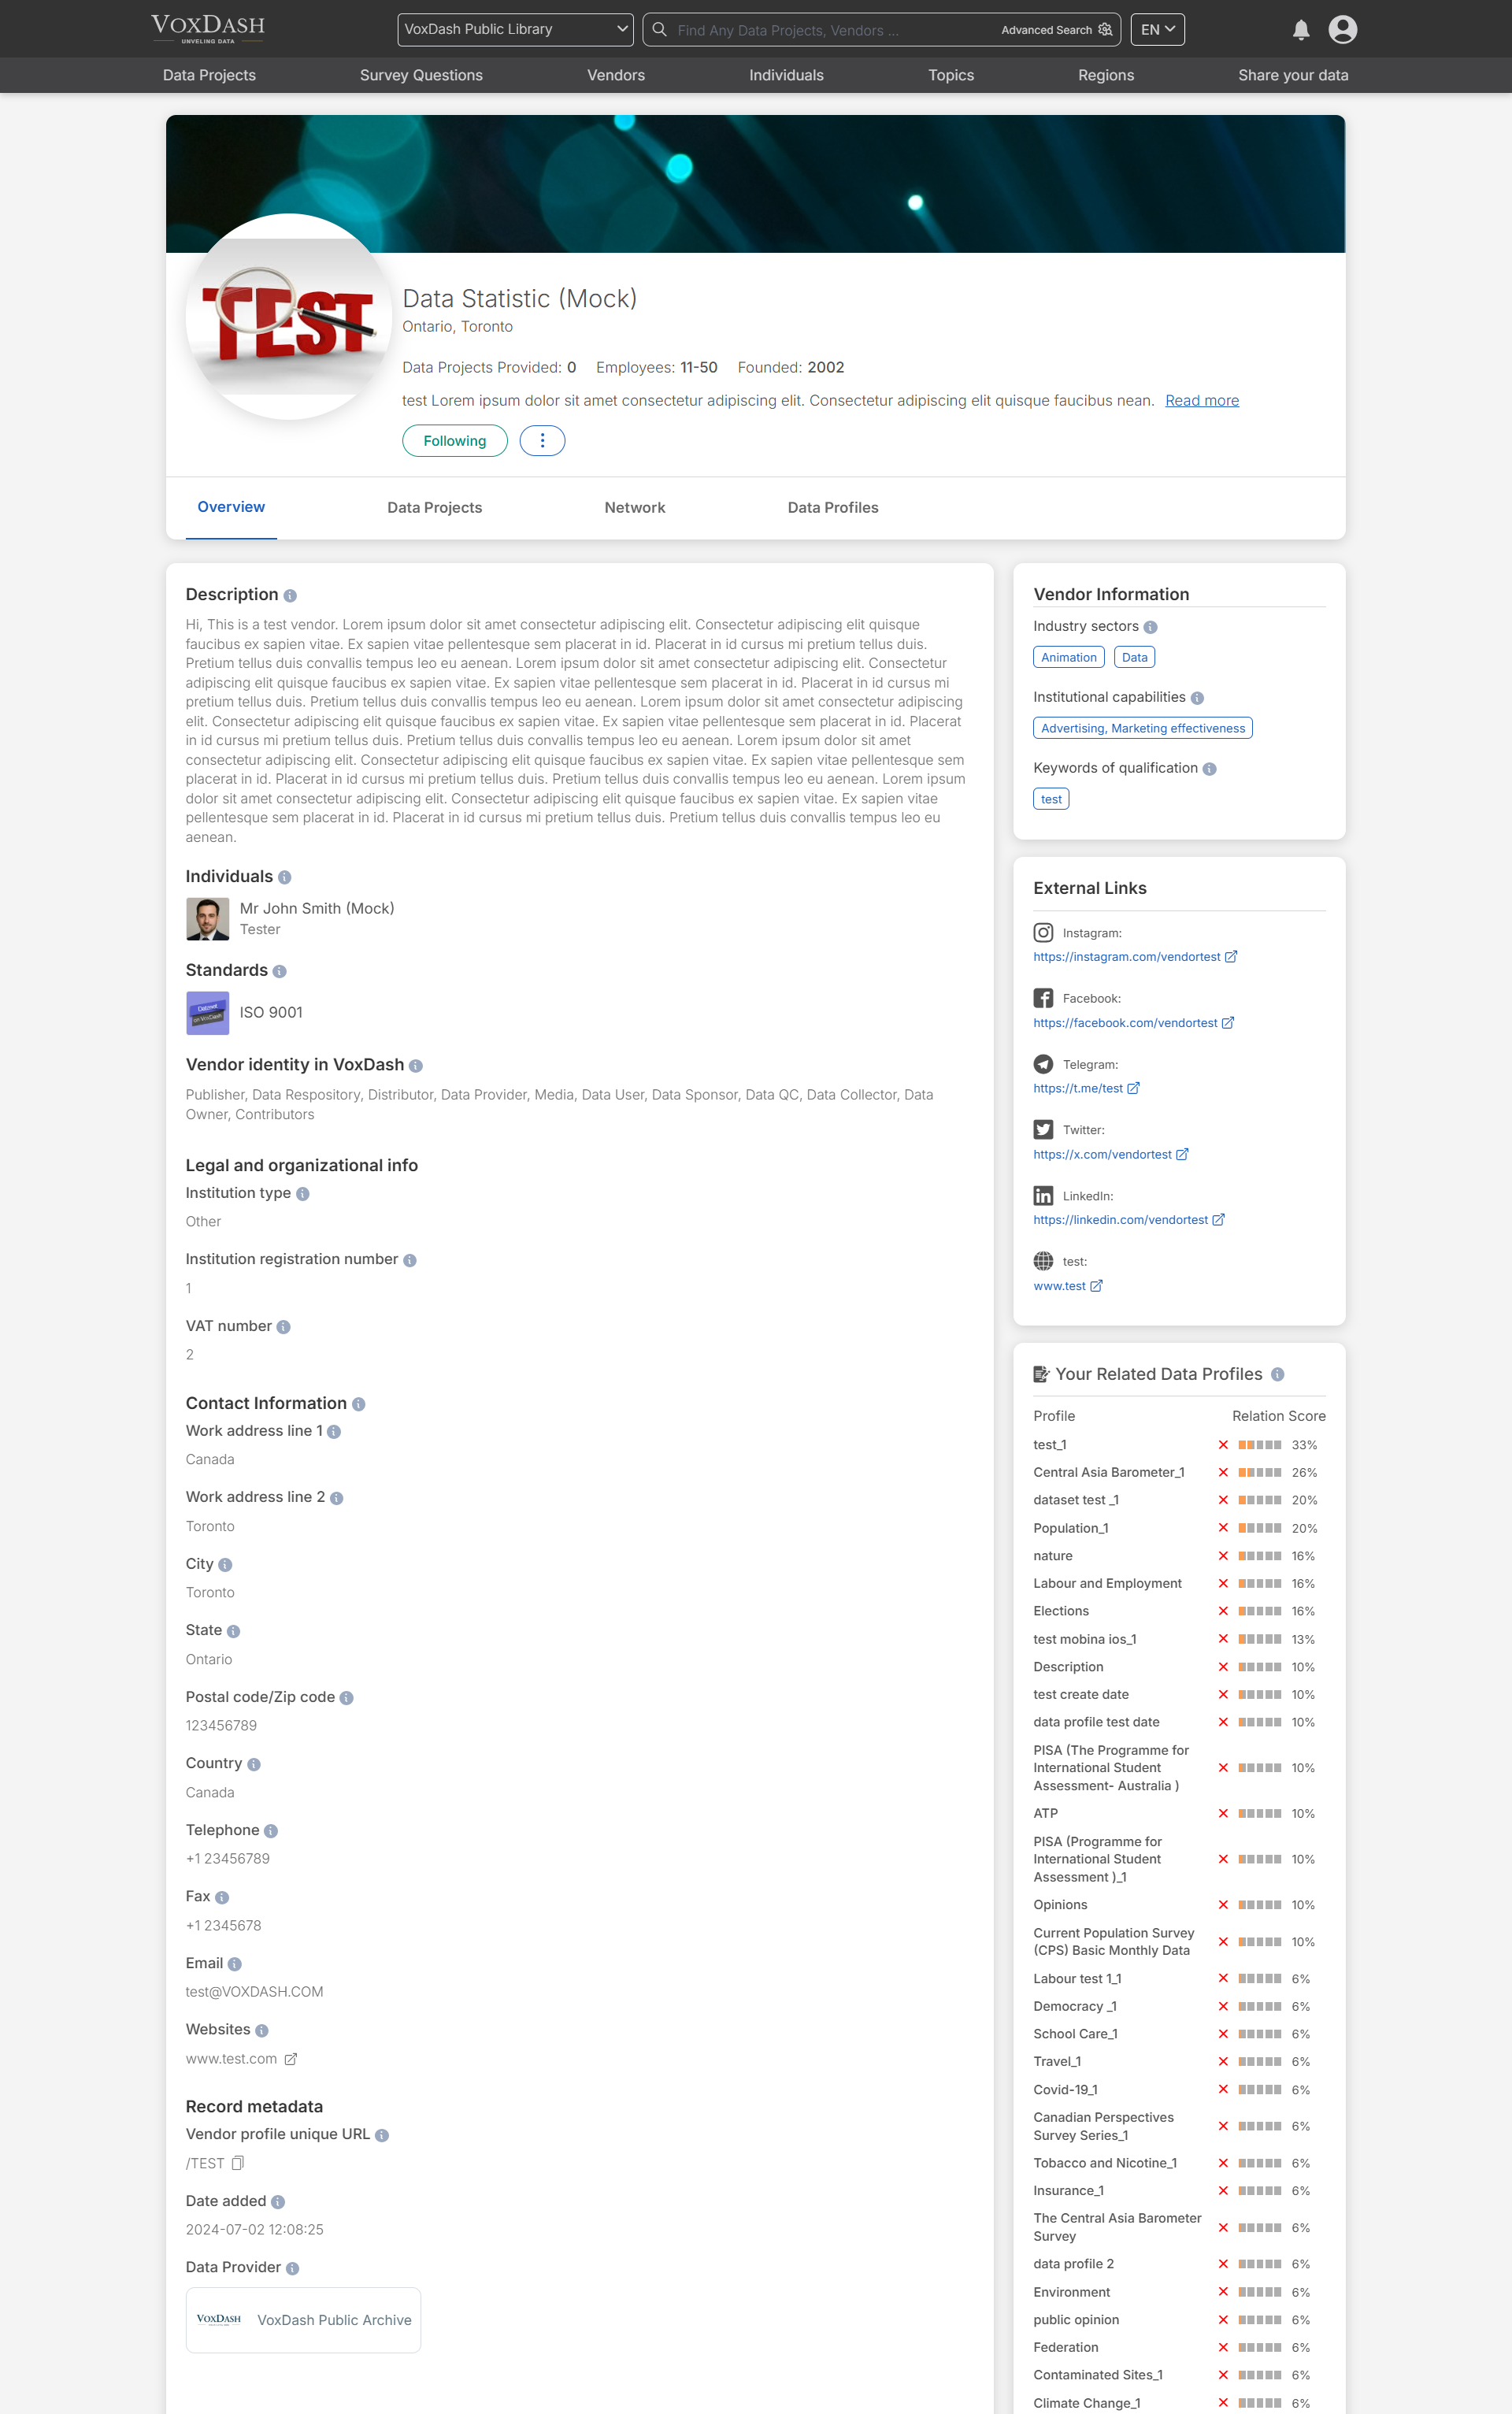
Understanding how to manage vendors in your system ensures efficient handling of data services and resources. By following the steps outlined above, you can easily add or locate vendors, streamlining your data collection and management process. To access a vendor’s profile, you can choose one of the following methods:- Search for the Vendor Name in VoxDash: Utilize the search functionality in VoxDash by entering the vendor’s name. This will quickly locate the vendor’s profile, allowing you to view detailed information.
- Click on the Vendor’s Name in the Data Project: Within the data project, locate and click on the vendor’s name. This will directly take you to their profile page, where you can review associated details and insights.