

Step 1: Open the VoxDash Landing Page
Navigate to the VoxDash using your web browser. On the top-right corner of the page, locate the Profile icon. Click the Profile icon to continue to the Login / Sign Up page.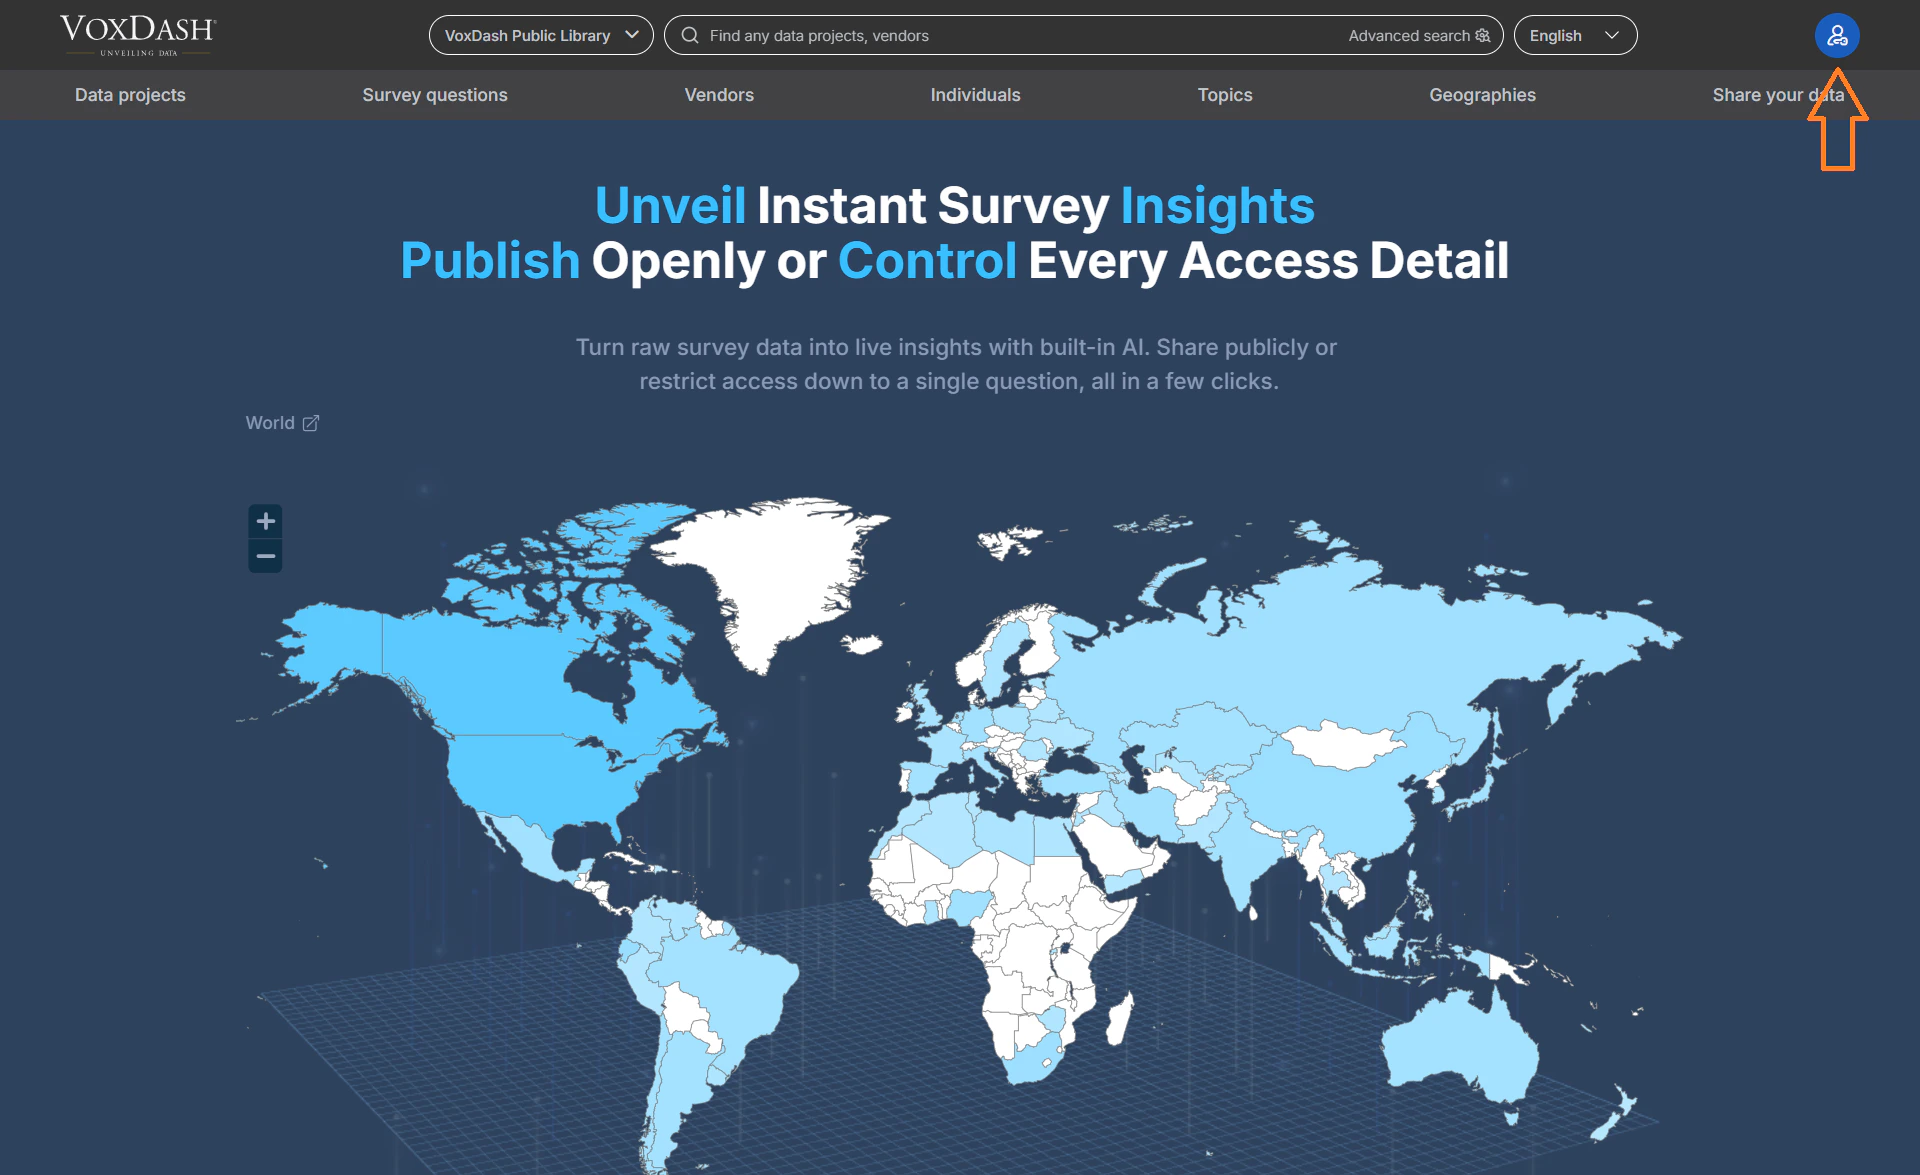
Step 2: Create a New Account
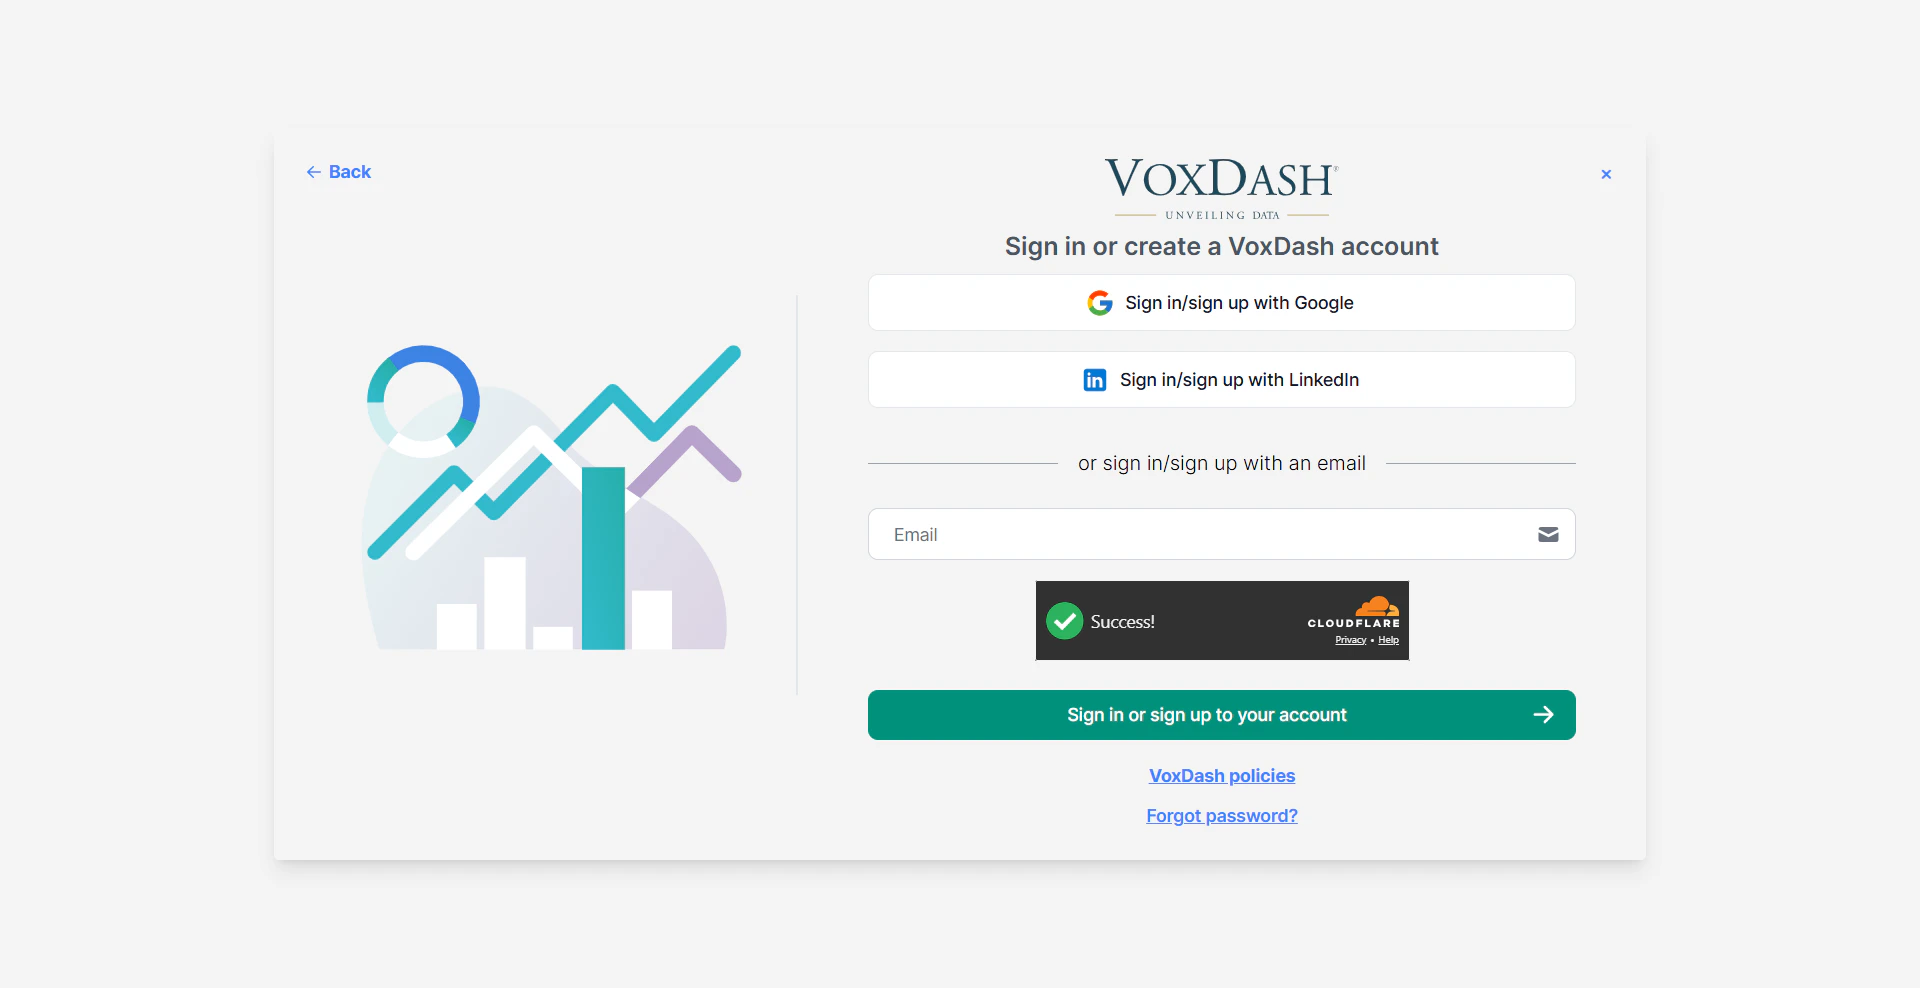
If you are a new user, select the option to create an account. You will be asked to provide the following information:- Email Address – Enter a valid and active email address. This email will be used for login, notifications, and account recovery.
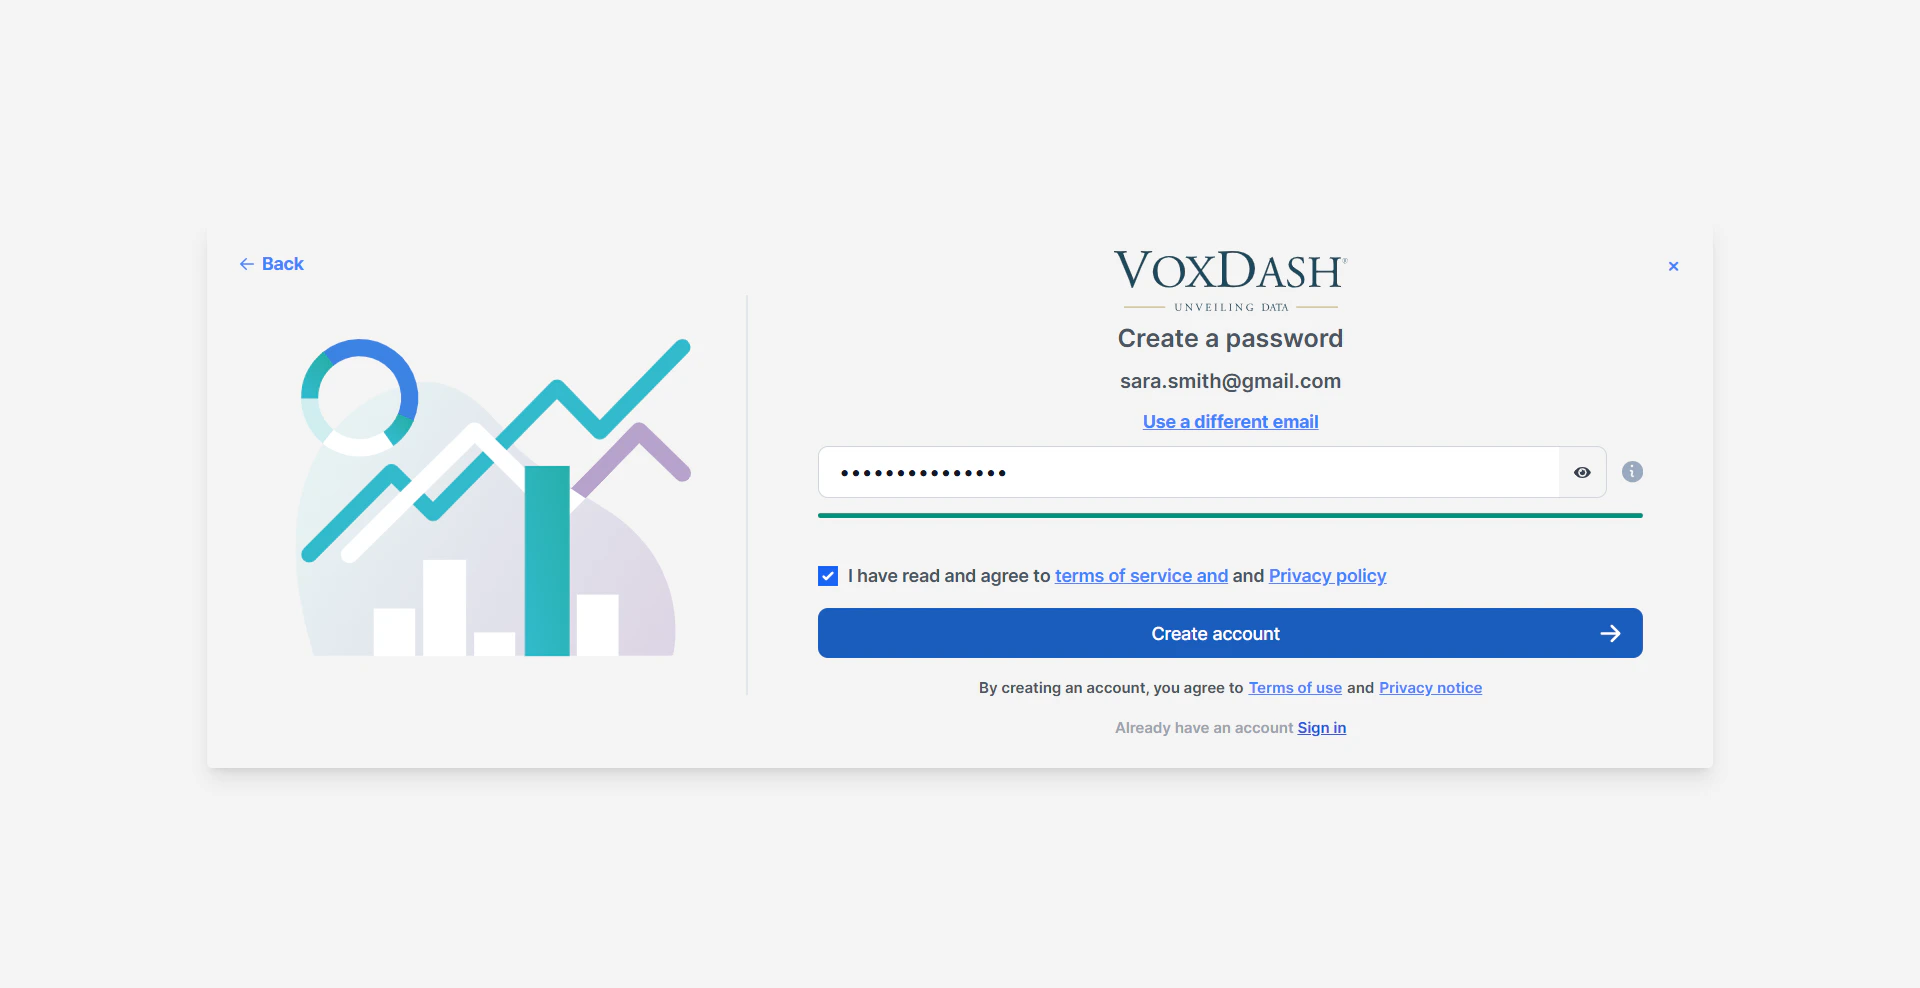
- Password – Create a strong password that includes a combination of uppercase letters, lowercase letters, numbers, and special characters.
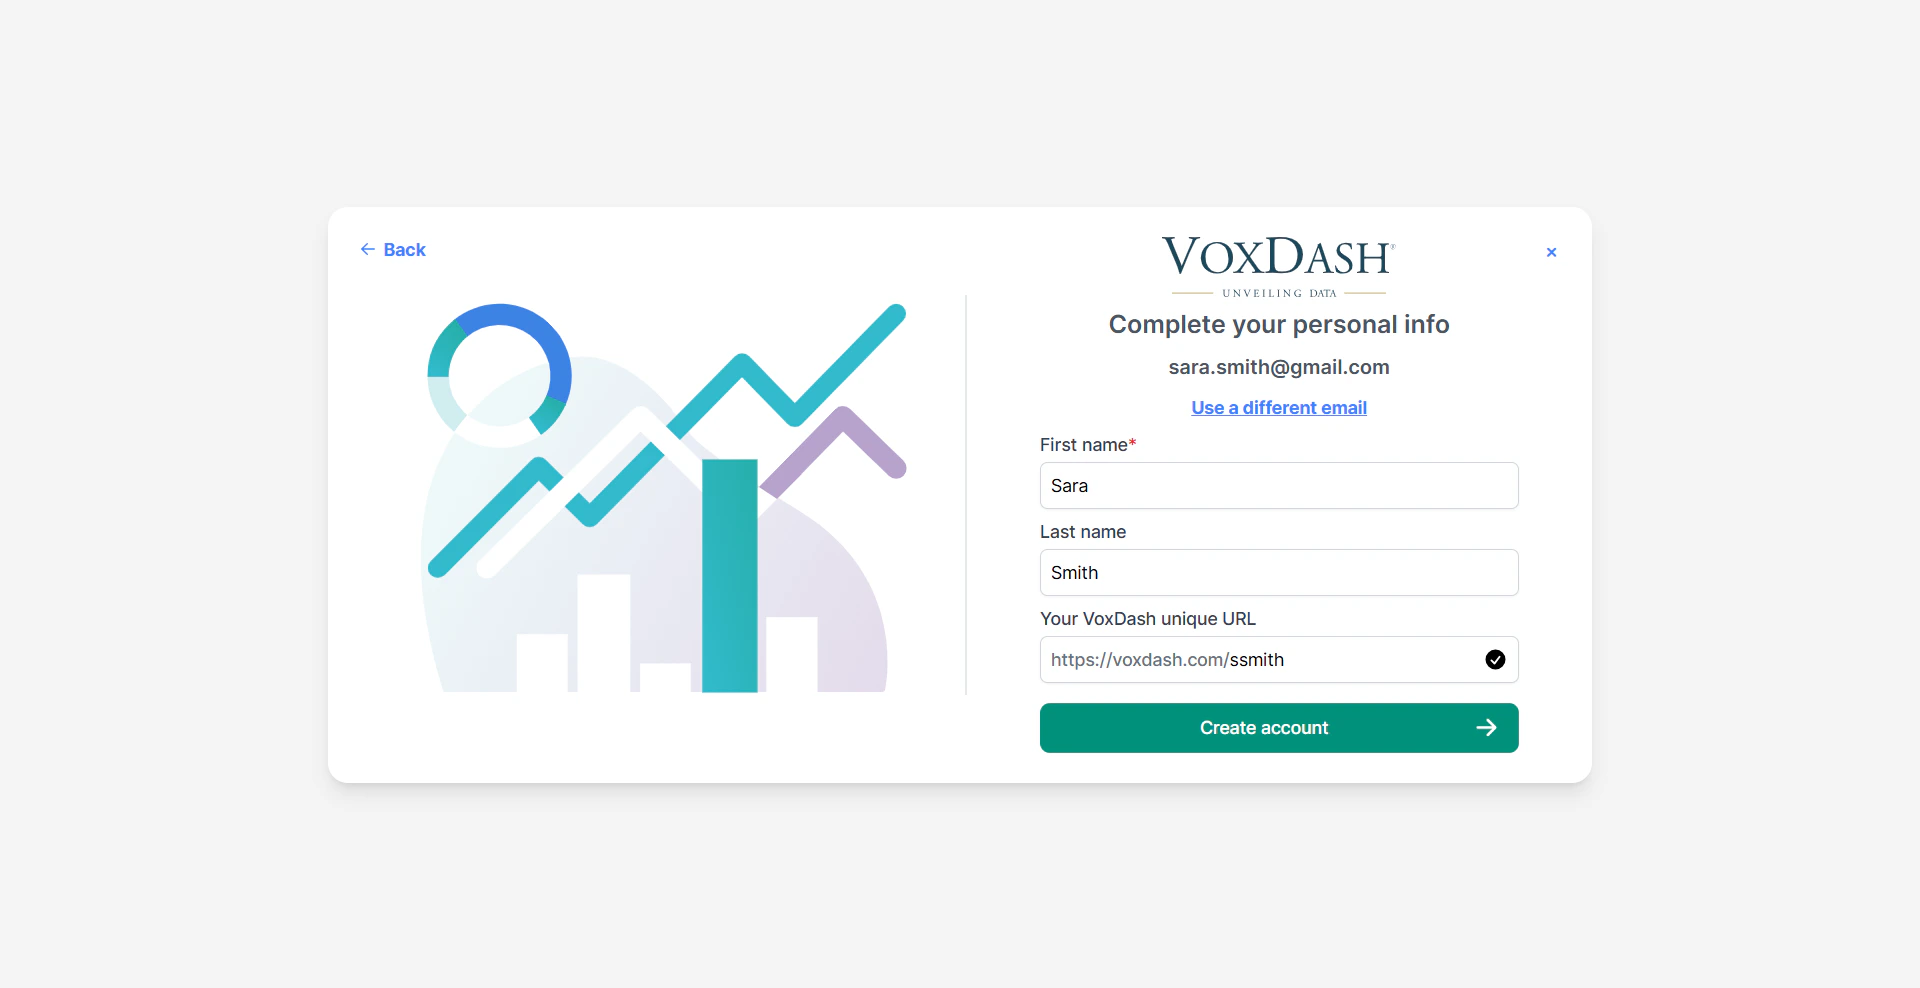
- First Name – Enter your first name.
- Last Name – Enter your last name.
- Unique Account URL – Choose a custom and unique URL for your workspace or account page. This helps personalize your VoxDash environment and makes it easier to access.
Step 3: Review Your Information
Before submitting, review all entered details to ensure they are accurate. Make sure:- Your email address is spelled correctly.
- Your password meets the security requirements.
- Your custom URL is available and easy to remember.
- Your name is entered correctly.
Step 4: Complete Registration
Click the Create Account or Sign Up button to finish the registration process. Once completed, your VoxDash account will be successfully created.Step 5: Log In to Your Account
After registration, return to the login page and sign in using:- Your registered email address
- Your password
Tips
- Use a business email address for better team collaboration.
- Store your password securely using a password manager.
- Choose a professional account URL, especially for company use.
- If login issues occur, use the Forgot Password option to reset your password.